This page describes how to connect to the SAE WiFi by disabling the certificate check. Just follow all the steps outlined below.
Right click on your Wifi ICON and select :
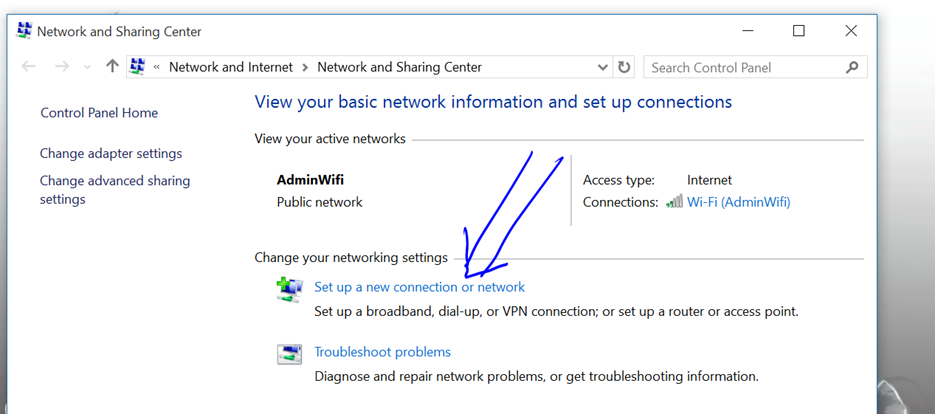
“Open Network and Sharing Center”

Click on “Setup a new connection or network”
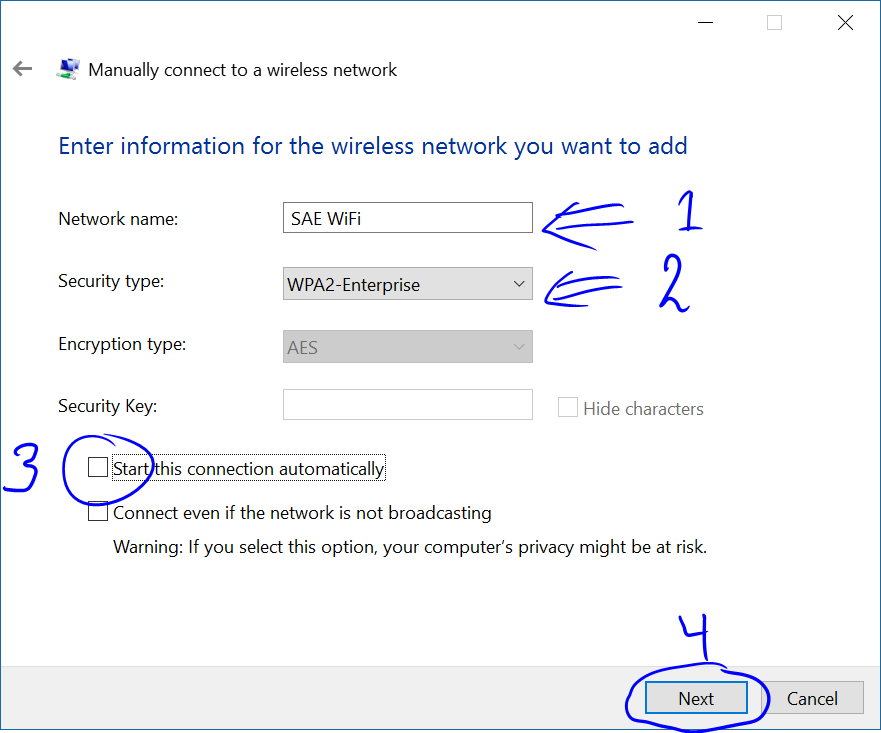
Click on : “Manually connect to a wireless network”

In the next screen fill in as below:
Watch for the capital letters in : SAE WiFi
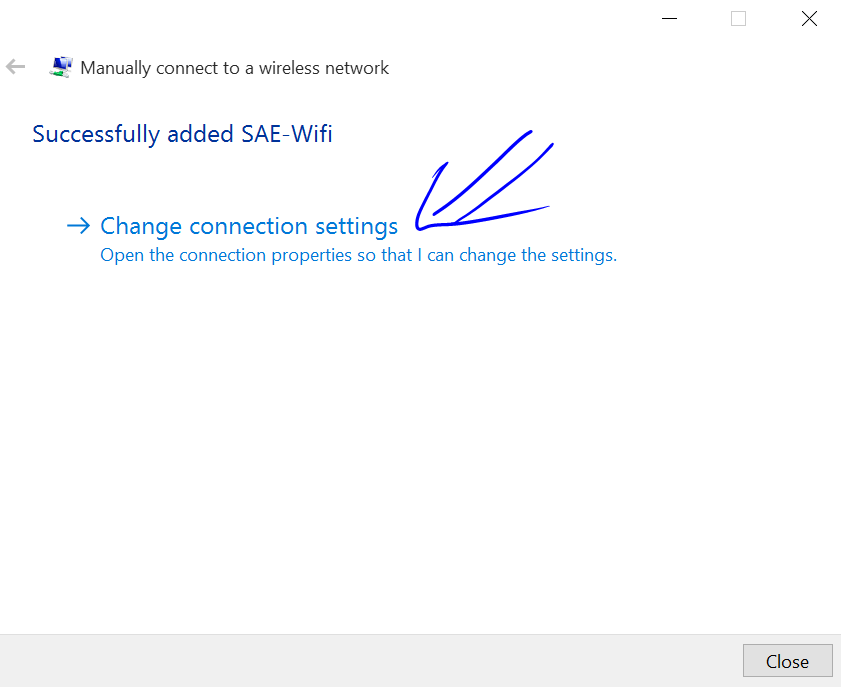
Click on “Change connection settings”
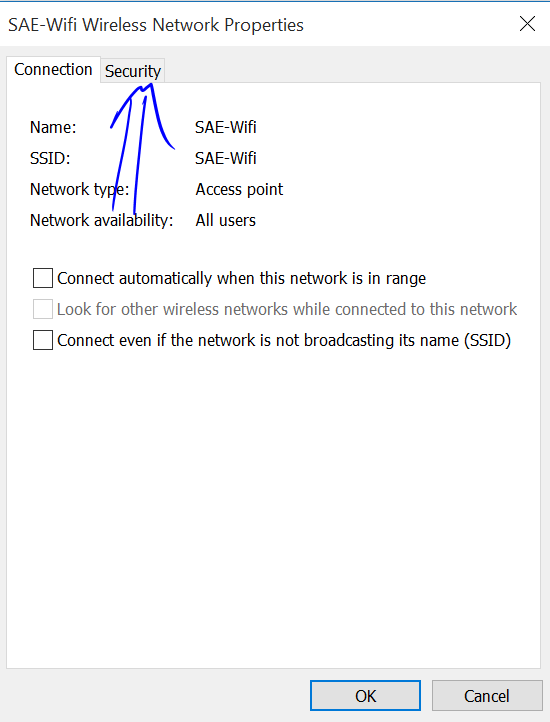
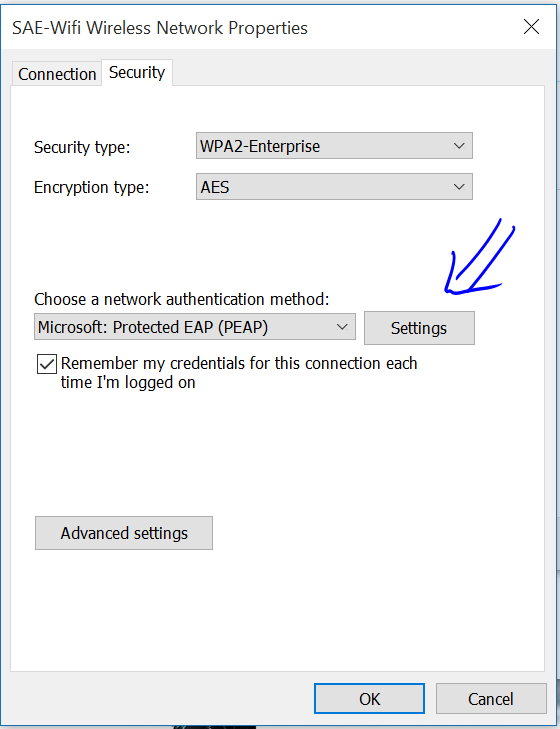
Disable: “Connect automatically when network is in range” and click on security tab.
Fill in settings as below and click on settings.
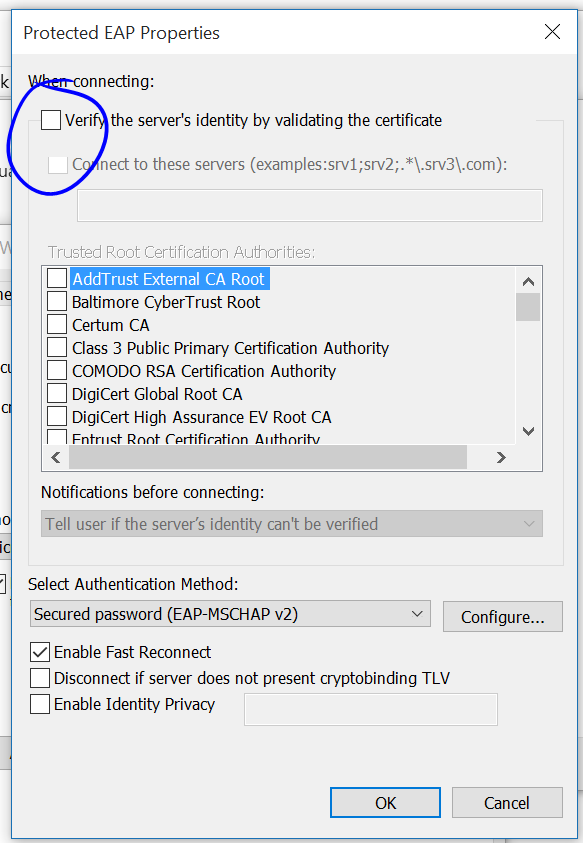
Unselect “Verify the server’s…. certificate” and press configure.
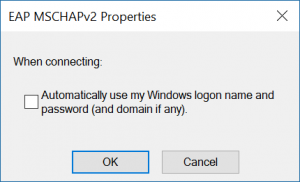
Unclick the checkbox so we will not be using your windows credentials. Press ok twice
Select Advanced settings.

Click on the “Specify authentication mode:”
then select: “User authentication” and then press “Save credentials”
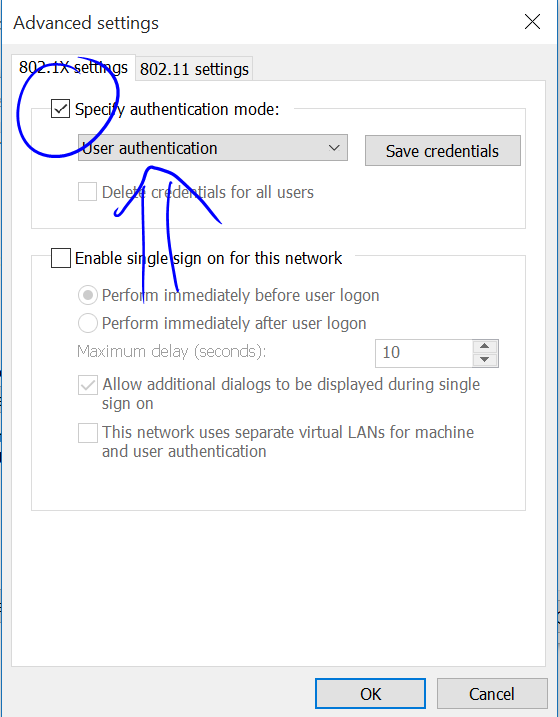
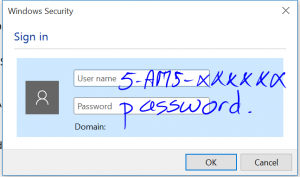
It will ask you to fill in your username : 5-AMS-50XXXX
and your password that you created by following this guide.
Press OK, ok, ok, in the remaining dialogs to close all the screens.
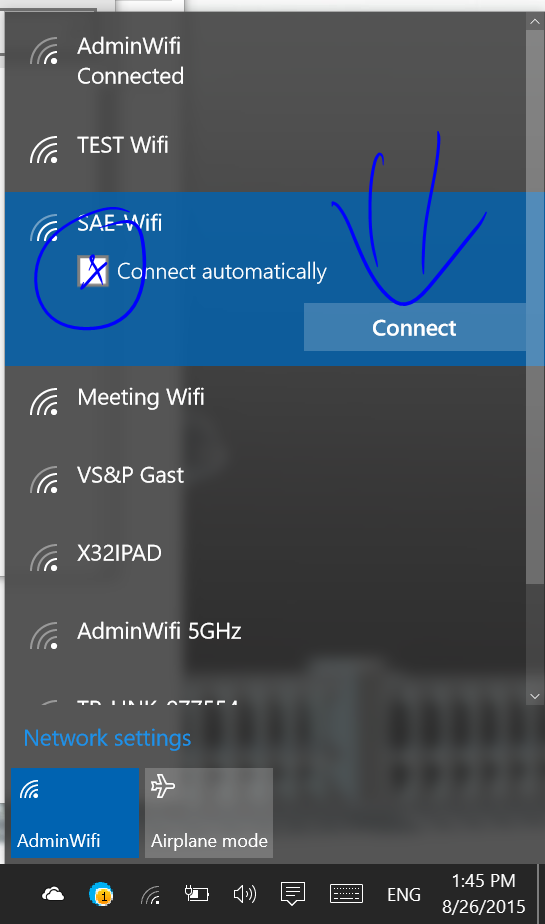
Now click on the wifi icon and select connect to “SAE WiFi”
and you might want to click on “Connect automatically“ to prevent having to fill in your credentials every time.
After pressing OK you should be connected to the WiFi.
A splash screen should come up. This screen holds the acceptable use policy that you will have to agree on. If the screen does not come up please disable pop-up blockers from your OS / Virus protection / Browsers pop-up blocker.
See the relevant documentation from your program on how to do this.