Overview
The 802.1x protocol is the protocol that is used for wired access to SAE’s network through publicly accessible network ports. These connections may be located in the rest area, practical area and classrooms or other public areas.
You must have administrative rights to your computer to complete these steps.
Before you manually configure your computer, be sure to download the required certificates from : HERE.
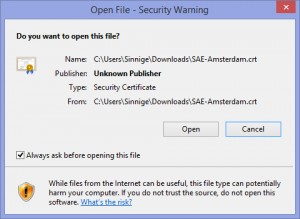
Double click the certificate after downloading it to start the installation. It will immediately issue a security warning, which you will have to accept by pressing open.
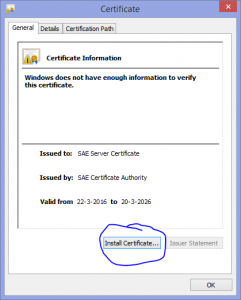
In the next screen press “Install Certificate”
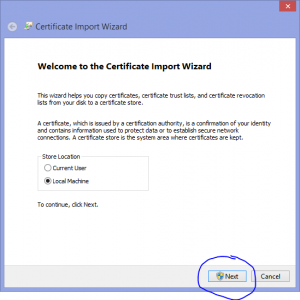
Then select “Local Machine” as the location and press next.
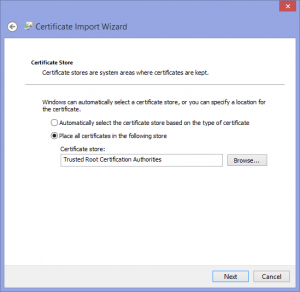
Press Browse and select the “Trusted Root Authorities” store as the correct place.
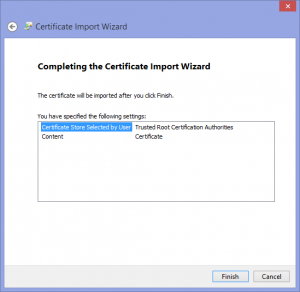
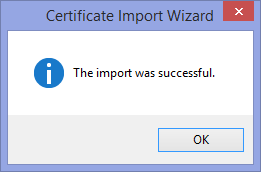
After completion it shows you an overview and you can simply hit finish.
Ok, now that the certificate is installed we can finally enable IEEE 802.1x for wired devices.
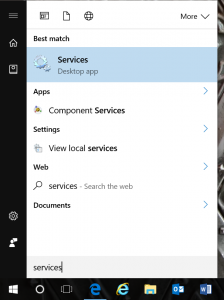
First we need to enable the service that configures this.
Press the start button and type “services” to start searching for it. Or click the seach button and search for it.
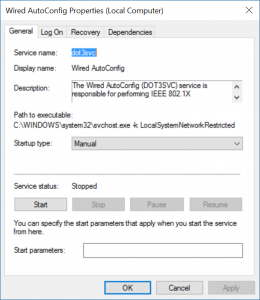
Start it up, scroll all the way down and locate “Wired AutoConfig”. Doubleclick on it to show it’s properties.
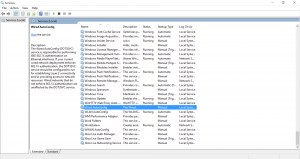
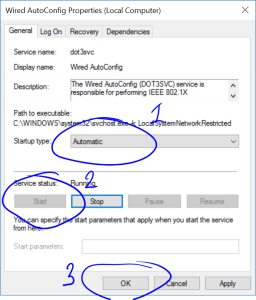
Once we have the properties up it looks as below and we need to change 2 things here :
- Change the Startup type to Automatic so it will startup automatically at boot.
- Press “Start” to start the service
- Press “OK” to close.
If you now connect the cable it will ask you for your login and password.
Your login is the same as the one for the Wifi and Studentserv : 5-AMS-50XXXX and the password is the same as the one you use for those.
If you haven’t created a password yet go here.